I remember the day I tried to rearrange my living room. I had just bought a new sofa online, and I was staring at an empty room trying to imagine if a 6-seater sectional would fit against the wall without blocking the doorway. I ended up moving all the heavy furniture myself, sweating for three hours, only to realize the sofa completely blocked the window.
That was the day I went looking for a 3D home planning tool.
I tried the big names first—Planner 5D, Homestyler, SketchUp. They are incredible, don’t get me wrong. But they are either locked behind steep monthly subscriptions, require a software engineering degree to use, or don’t let you embed the tool directly into your own website. I wanted something simple. Something I could drop into a WordPress page using a shortcode, load up a template, and just start moving walls and beds around with my mouse.
After digging around and testing a lightweight, browser-based 3D Home Builder plugin, I realized this little tool was a hidden gem for quick spatial planning. It’s not a professional architectural engine, but for visualizing a space before you break your back moving furniture, it’s exactly what you need.
If you’re looking to map out a room, build a quick layout for a client, or just figure out if a king-size bed will actually fit in your apartment, here is my hands-on experience on how to use it, how it actually works under the hood, the limitations you need to watch out for, and the features I found most useful.
How This Tool Actually Works (Under the Hood)
Before we get into clicking buttons, it helps to understand what this tool is doing. A lot of people think 3D rendering on a website requires some massive server doing heavy calculations. It doesn’t.
This 3D Home Builder is built on a JavaScript library called Three.js. If you aren’t a developer, all you need to know is that Three.js takes your web browser’s built-in graphics engine (called WebGL) and gives it a simple set of instructions for drawing 3D shapes.
When you open the page, your computer’s graphics card is doing all the heavy lifting, not the website’s server. The PHP and SQL backend is just there as a memory bank. When you drag a bed across the room and hit “Save,” the tool writes down a tiny text list of coordinates—like “Bed is at X: 5, Y: 0, Z: 3″—and stores it in a MySQL database. When you reload the page, it reads that list and redraws the scene instantly.
Because it relies on basic primitive shapes (like boxes and cylinders) combined together, it loads incredibly fast. You don’t have to wait for 4K texture maps or photorealistic lighting engines to load. It’s immediate, which is exactly what you want when you’re just trying to figure out floor plans.
Getting Started: How to Use the 3D Home Builder
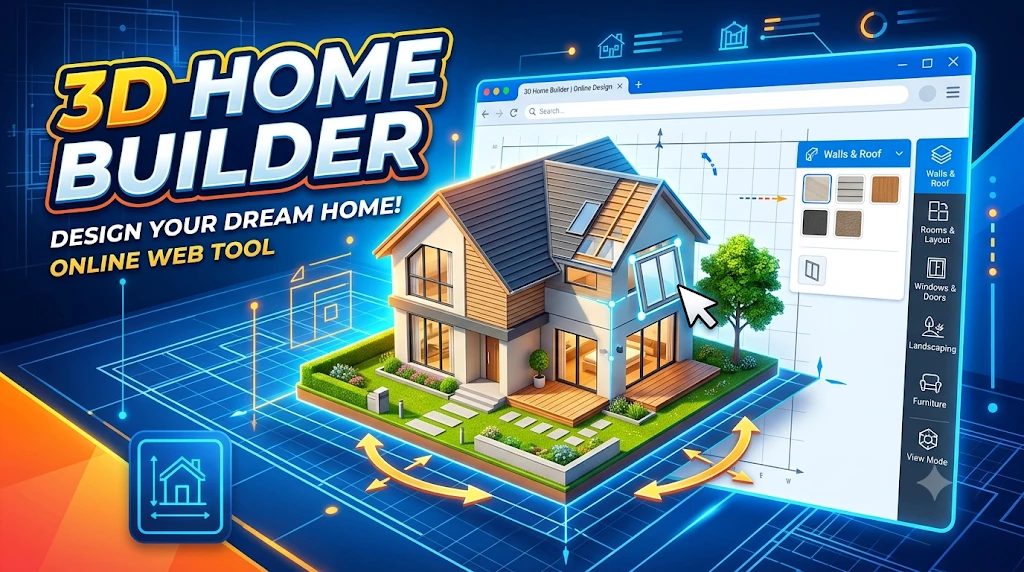
Using this tool feels a lot like playing a sandbox video game. The interface is split into two parts: a dark sidebar on the left with all your controls, and a large gray 3D canvas on the right where the magic happens.
Here is my step-by-step process for mapping out a room from scratch.
Step 1: Start With a Template
When you first open the tool, the 3D canvas is just an empty grid. You could build everything from scratch, but I highly recommend starting with a template. In the sidebar, there’s a dropdown menu with 10 pre-built layouts.
My personal favorite is the “1BHK Flat” (One Bedroom, Hall, Kitchen). When you select it and click “Load Template,” the engine instantly builds a floor, two exterior walls, a bed in the bedroom area, a sofa in the living area, and a table. It gives you an immediate sense of scale.
If you just want to plan a single room, use the “Basic Bedroom” or “Living Room” templates. The “Modern Villa” template is massive and great if you’re planning an open-concept space.
Step 2: Navigating the 3D Space
Before you start moving furniture, you need to know how to look around. This took me a minute to get used to, but it becomes second nature quickly:
- Left Click + Drag: Orbits the camera around the room. This lets you look at your layout from the front, side, or back.
- Right Click + Drag: Pans the camera left, right, up, or down. I use this when I want to focus on a specific corner of the room.
- Scroll Wheel: Zooms in and out.
If you ever lose your room or zoom in too far, just scroll out. The grid is your anchor point.
Step 3: Adding and Selecting Objects
Let’s say you loaded the Basic Bedroom, but you want to add a desk in the corner.
On the sidebar, you click “Add Table.” A 3D table will instantly appear in the center of your scene.
To select an object, just left-click on it in the 3D canvas. When you click an object, a set of colored arrows, circles, and squares will appear over it. This is called the Transform Gizmo.
- Red arrow: Move on the X-axis (left/right)
- Blue arrow: Move on the Z-axis (forward/backward)
- Green arrow: Move on the Y-axis (up/down)
Step 4: Moving, Rotating, and Scaling
This is where the tool shines. You don’t have to type in numbers. You just grab the green arrow and pull the bed back against the wall.
To rotate an object (let’s say you want the sofa to face the window instead of the TV), you need to switch modes. You can press the E key on your keyboard, or click the “Rotate (E)” button on the sidebar. The arrows will turn into colored circles. Grab the green circle to spin the object around on the floor.
One feature I absolutely loved was the Scale mode. Press R (or click Scale). The gizmo turns into a box with small cubes on the edges. If the default table is too big for your space, grab one of the corner cubes and shrink it down. I did this to turn a large dining table into a small nightstand in about two seconds.
Step 5: Deleting Items
If you add something you don’t like, just click the object to select it, and either press the Delete key on your keyboard or click the red “Delete” button in the sidebar. It vanishes instantly.
Step 6: Saving Your Design
This is crucial. Once you spend 20 minutes getting your layout perfect, do not just close the tab. Click the orange “Save Design” button.
As I mentioned earlier, this sends your layout to the site’s database. The next time you visit the page, it will automatically load your saved design. I made the mistake of refreshing the page without saving once and lost an entire afternoon’s planning. Save early, and save often.
The Most Useful Things in This Tool
After using this for a few weeks, certain features stood out to me as genuinely brilliant design choices.
1. The Composite Furniture Design
I expected the furniture to just be simple colored blocks. But the developer actually built “composite” shapes. When you add a bed, it’s not just a box. It has a wooden base, a white mattress, two blue pillows, and a dark blue blanket folded at the foot. The sofa has a base, armrests, a backrest, and cushions. This makes it infinitely easier to look at the 3D model and understand what you are looking at, compared to staring at a bunch of sterile gray cubes.
2. Smart “Group” Selection
Because the bed is made of five different pieces (base, mattress, pillows, blanket), you’d think clicking a pillow would only select the pillow. But the tool uses smart raycasting. If you click the pillow, the script automatically traverses up the hierarchy and selects the entire bed. You can then move the whole bed as one unit. This is a massive time-saver and prevents the frustration of accidentally dragging a pillow off the bed and leaving the base behind.
3. The 10 Pre-built Templates
I cannot overstate how useful these are. Starting from a blank grid is intimidating. Having a 2BHK Flat or a Master Suite ready to go means you are immediately tweaking an existing layout rather than building walls from scratch. It lowers the barrier to entry from “3D architect” to “interior decorator” in a single click.
4. Seamless WordPress Integration
If you are running a real estate blog, an interior design business, or a property listing site, being able to drop a
shortcode into a page is a game changer. It automatically resizes to fit your theme’s container. You don’t need an iframe linking out to a third-party site. The tool lives natively on your page, keeping visitors on your website.
The Limitations: What This Tool Cannot Do
I’m going to be brutally honest here, because no tool is perfect, and if you go in expecting SketchUp Pro, you will be disappointed.
1. It is Not Photorealistic
This is the biggest limitation. The lighting is flat, and the materials are basic solid colors. There are no wood grain textures, no glass reflections, no shadows cast by the sun. It uses a lighting model called “Lambert,” which just calculates how bright a surface is based on its angle to the light. It is perfectly fine for spatial planning, but you cannot use it to show a client what their finished marble countertops will look like.
2. Limited Object Catalog
You get five items: Floor, Wall, Bed, Sofa, and Table. That’s it. There are no doors, no windows, no kitchen appliances, no toilets, no plants. If you want to design a kitchen, you are going to have to use scaled-down tables to represent counters and use your imagination. You can’t build a custom roof, either. You are strictly working with interior floor plans.
3. No 2D Floor Plan View
Professional tools let you switch between a 2D top-down blueprint view and a 3D view. This tool is strictly 3D. While the 3D orbit camera is great, trying to align walls perfectly straight in 3D space can be slightly finicky compared to drawing a straight line on a 2D grid.
4. Mobile and Touch Limitations
While the canvas will shrink to fit your phone screen, using TransformControls (the little arrows) on a touchscreen is frustrating. You don’t have the precision of a mouse, and multi-touch can sometimes trigger the camera pan instead of moving the object. This is a tool best used on a laptop or desktop computer.
5. Single-User, Single-Save
The database saves one design at a time. It doesn’t have user accounts where John can save his house and Jane can save hers. It’s designed to load the most recently saved version of the scene. If you are running a public website and two people use the tool at the same time, they will overwrite each other’s saves.
Common Mistakes to Avoid
During my time experimenting with the builder, I ran into a few snags. Here’s how to avoid them:
- Forgetting to Deselect: Sometimes you’ll have a bed selected, and you’ll try to click an empty part of the screen to look around. If you accidentally drag the green arrow, you’ll launch your bed into the ceiling. Always press Escape or click empty space to detach the movement arrows before panning the camera.
- Scaling Through Floors: When you use the Scale tool (R), be careful. If you grab the wrong axis, you can accidentally stretch a table downward through the floor grid. If this happens, just switch back to Move mode (W) and pull it back up.
- Building Too Big: It’s tempting to load the “Modern Villa” template and start adding stuff, but the camera has a zoom limit. If you build a massive compound, you’ll zoom out and everything will look tiny. Stick to room-sized or apartment-sized layouts for the best experience.
Real-World Examples: When to Actually Use This
So, when does this tool make sense in real life?
Scenario 1: The Apartment Hunter
You are looking at a rental listing online. The ad says the bedroom is 12×12 feet. You load up the “Basic Bedroom” template, scale the bed to roughly match your real mattress size, and see if you actually have room to walk around it. This saved me from renting an apartment where my bed literally would not have fit through the door.
Scenario 2: The Interior Design Blogger
If you write about home decor, you can use this tool to mock up room layouts for your readers. Instead of just writing “Place the sofa facing the window,” you can build the room in 3D, save it, and let your readers load the shortcode on your site, spin the camera around, and see exactly what you mean.
Scenario 3: Event Planning
I actually used this to plan the layout for a small family gathering. I scaled the “table” items to represent dining tables and moved the “sofas” to act as boundary markers. It gave me a visual confirmation of how many tables I could fit in my backyard without it feeling cramped.
Final Thoughts
At the end of the day, this 3D Home Builder plugin is not going to replace professional CAD software. It was never meant to.
What it does is solve a very specific, very common problem: it lets everyday people visualize spatial relationships in 3D without spending a dime or downloading a single piece of software. The fact that it runs entirely in the browser, remembers your layout via a simple database, and gives you intuitive drag-and-drop arrows to move composite furniture around makes it incredibly accessible.
If you need to know if a couch fits, if you want to show a friend how you’d arrange their living room, or if you just want to kill an hour playing digital interior designer, this tool gets the job done perfectly. Just remember to hit save before you close your browser.

The Editorial Team
The Editorial Team at iqqbit.info creates practical, easy-to-use resources designed to make everyday tasks simpler. We focus on useful daily-life tools, helpful guides, and straightforward information that anyone can access and understand. Our goal is to provide reliable, free tools for everyday needs while also offering premium and customizable tool options for website owners who want to add useful features to their own websites. We believe useful technology should be simple, accessible, and genuinely helpful. At iqqbit.info, we continuously work to improve our tools, keep information clear, and create resources that save users time and effort.